Installation on Windows
MSI packages are available for the installation of the external filter plugins for Windows. It is strongly recommended to use these packages and do not attempt to install the packages from the sources.
Required packages
For the installation at least two packages are required
- the package for the appropriate C++ runtime environment
(
vc_redist.x64.exefor 64Bit installations) - the MSI package for the filter plugin which should be installed
(
h5pl-1.0.0-win64.msifor the Eiger LZ4 plugin)
In the future we most probably will bundle the C++ runtime environment with the plugin package. However, for the time being the runtime package must be installed manually:
- files for HDF 1.8 are available here (1.8 MB),
- files for HDF 1.10 are available here (1.7 MB).
hdf5plugin-1.8.20-win7_64-vs12.zip.
Installation of the C++ runtime environment
The C/C++ runtime environment is shipped as a installable .exe. file
named vc_redist.x64.exe. To start the installation just double click on
the file and follow the instructions.
Installation of the filter plugin (dialogs are deprecated)
Here we show the installation of the LZ4 filter plugin required to read data
from the Eiger detector. The plugin comes in an MSI package named
h5pl-1.0.0-win64.msi. Double click on the file launch the installation
wizard (see Fig. 1).
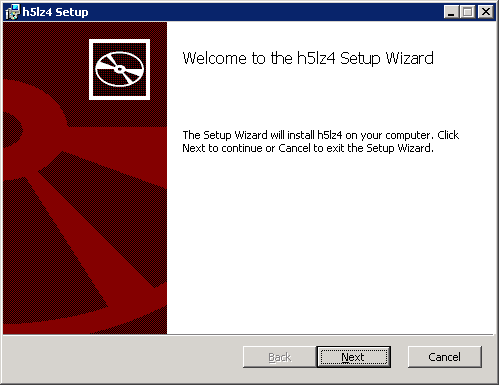
Fig. 1 First page of the LZ4 filter plugin installation wizard.
Continue by pressing Next and accept the licence agreement (see Fig. 2).
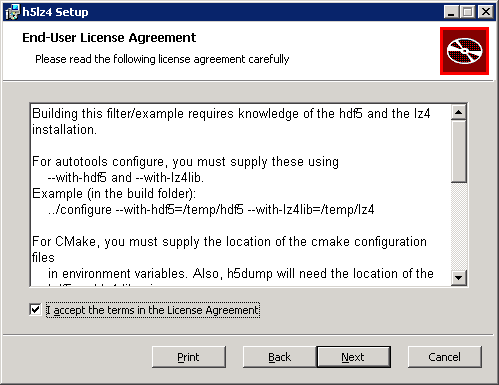
Fig. 2 Accept the license agreement to continue with the installation.
In the next step the installation path must be provided (see
Fig. 3). Usually the default value is
fine.
This step is rather important as we need this path for the later configuration
of the installation. Here we used the default path c:\Program
Files\HDF_Group\h5lz4\1.0.
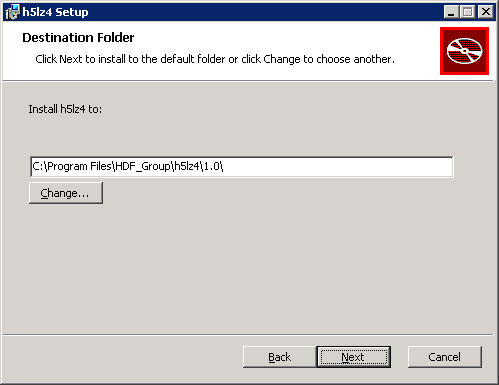
Fig. 3 Set the installation path. If you are not entirely sure what you are doing just leave the default value.
To continue the installation press Next to come to the last dialog of the installation wizard (see Fig. 4). Press Install to finish the installation.
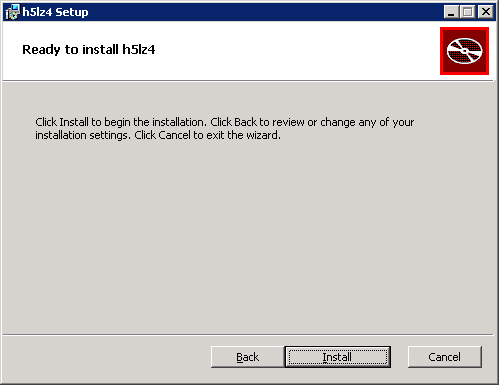
Fig. 4 Press Install to finish the plugin installation.
Environment configuration
Before your applications can make use of the filter plugin we have to tell them
where to look for it. This is done via the HDF5_PLUGIN_PATH
environment variable.
On Windows environment variables can be created and modified via a GUI dialog. Most probably the easiest way to come to this dialog is by searching for environment variables in the start menu of your Windows desktop. The dialog should look like in Fig. 5.

Fig. 5 Dialog to manage environment variables on Windows.
If HDF5_PLUGIN_PATH does not already exist, add it as a new variable
by pressing the New... button.
This would lead you to a new dialog (see Fig. 6) which
allows you to enter the name and the value of an environment variable.

Append the path for the newly installed plugin to an existing path (use a ;
as a separator) or, as in this example, simply set HDF5_PLUGIN_PATH
to the appropriate directory. The path where to find the plugin library is the
installation path (see above) plus an addition \bin.
Once this variable is set you may have to restart all applications which should use the plugin. This is necessary as they have to read the new environment variable which is typically done during program startup.
Applications which we know will work
We have tested the following applications with the filter plugin
| Software | Windows7 64Bit | Windows10 64Bit |
|---|---|---|
| Matlab 2016 A | OK | OK |
| Anaconda Python 3.5 | OK | ?? |