qnx2img
qnx2img is a GUI software which basically provides the same functionality as the command line tool nx2img. The GUI provides basically three views
- setting the dataset from which to read the image data
- determine the output path, file type, and filename format
- running the conversion
Determine the input data
Directly of after starting the program either from a shell or via the application startup menu of your desktop, qnx2img shows the input data window
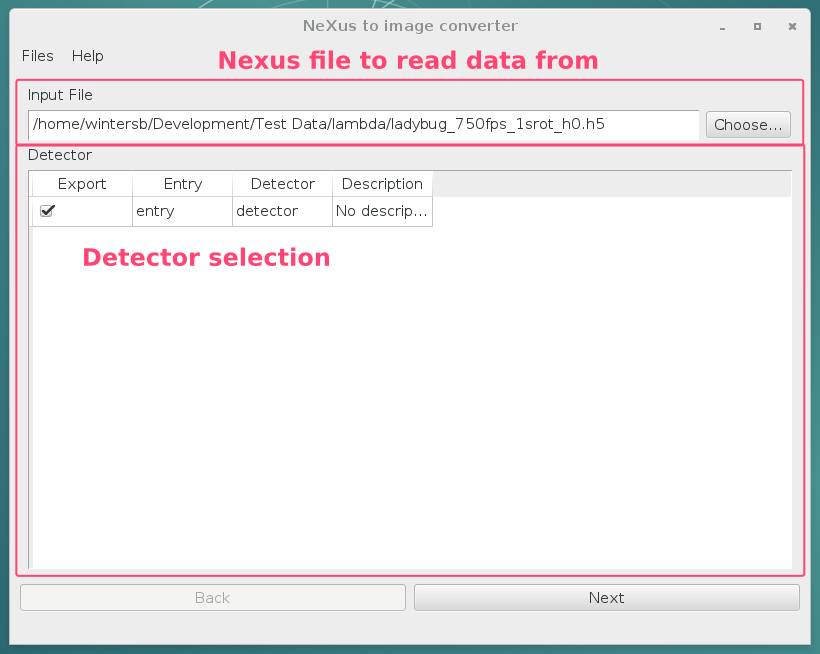
Enter the path of the NeXus file from which you want to read the data in the entry field at the very top of the window. For convenience, one can select the input file also via a file dialog which is shown after pressing the Chosse... button at the very right of the entry field.
Attention
When reading data produced by an Eiger detector you only have to select the master file. Everything else will be handled automatically by the software.
Once the input file is set the list view below shows a list of detectors found in the file. You have to select one of them (the selection is exclusive - only one detector field can be converted at a time). Once input data has been selected one can proceed by pressing the Next button at the bottom right of the window.
Output configuration
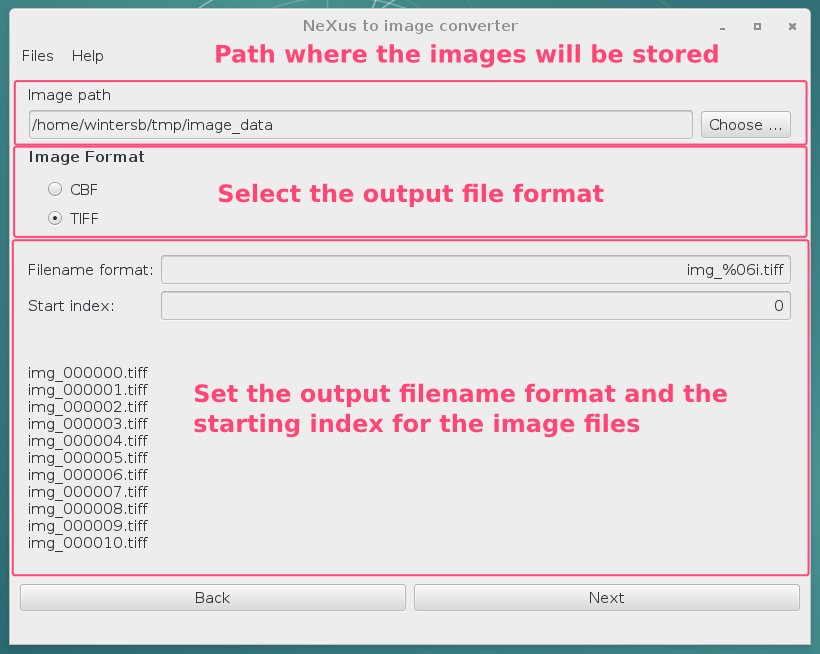
The top text entry field contains the path to which the individual images should be written. By default this is the current working directory. The checkboxes below the output path are used to select the output format for the images.
To modify the default filename format one should alter the content of the Filename format text box. Finally, the start index is determined by the Start index entry field. Whenever one alters one of these two entry fields the examples at the bottom of the window are updated to show the new filenames.
Once all the output information is set, press Next to proceed to the image conversion widget.
Running the conversion
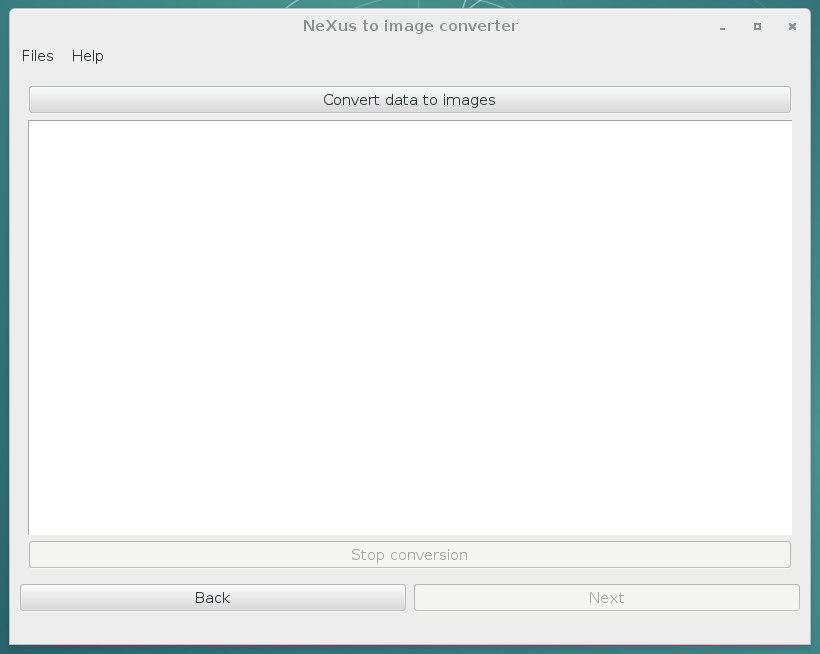
To start with the conversion press the Convert data to images button at the very top of the window.
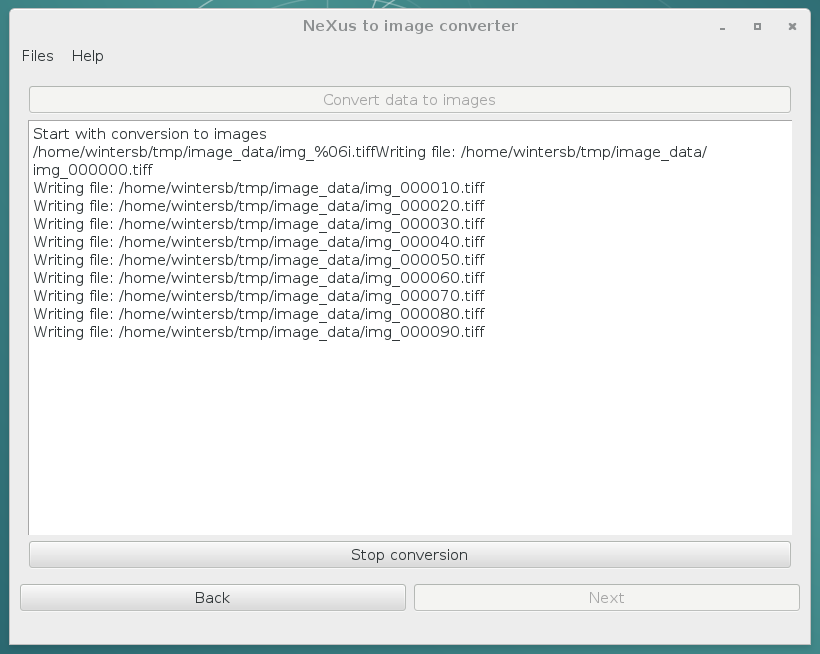
The log window in the center of the conversion widget will show the current status of the conversion process. Once a conversion is started the Convert data to images button will become inactive and the Stop conversion button becomes active. The latter one can be used at any time to stop the conversion process.
Once the conversion process has finished the Convert data to images becomes active again. At this point one can use the Back button to move back to one of the previous widgets in order to change the input or output configuration.